Death, Taxes, and Suspension Service
(Or: Why Your Fork Deserves Better Than You’re Giving It)
Look—we don’t do a lot of tech talk here at MTB Diaries. That’s by design. There are already too many dudes arguing about rebound settings on forums powered by rage and caffeine.
But some things in mountain biking are universal. Like crashes. Or getting lost. Or the nagging realization that your fork is wheezing like a busted accordion and hasn’t seen a service since the last Olympics.
So let’s talk about fork lowers service. Not in the obsessive, spreadsheet way. But in the “this is the bare minimum to not ruin your expensive squish” kind of way.
You in? Great. Let’s ruin fewer things today.
First, Why Bother?
Your suspension fork is a hardworking, misunderstood piece of magic. And just like your knees or your questionable sense of direction, it needs a little TLC now and then. Specifically, every 30–50 hours of riding, your lowers need love—cleaning, fresh oil, and a new lease on life.
If you don’t, it’ll still work… until it doesn’t. Then it costs money. A lot of it. And maybe your next ride sounds like a haunted juice box.
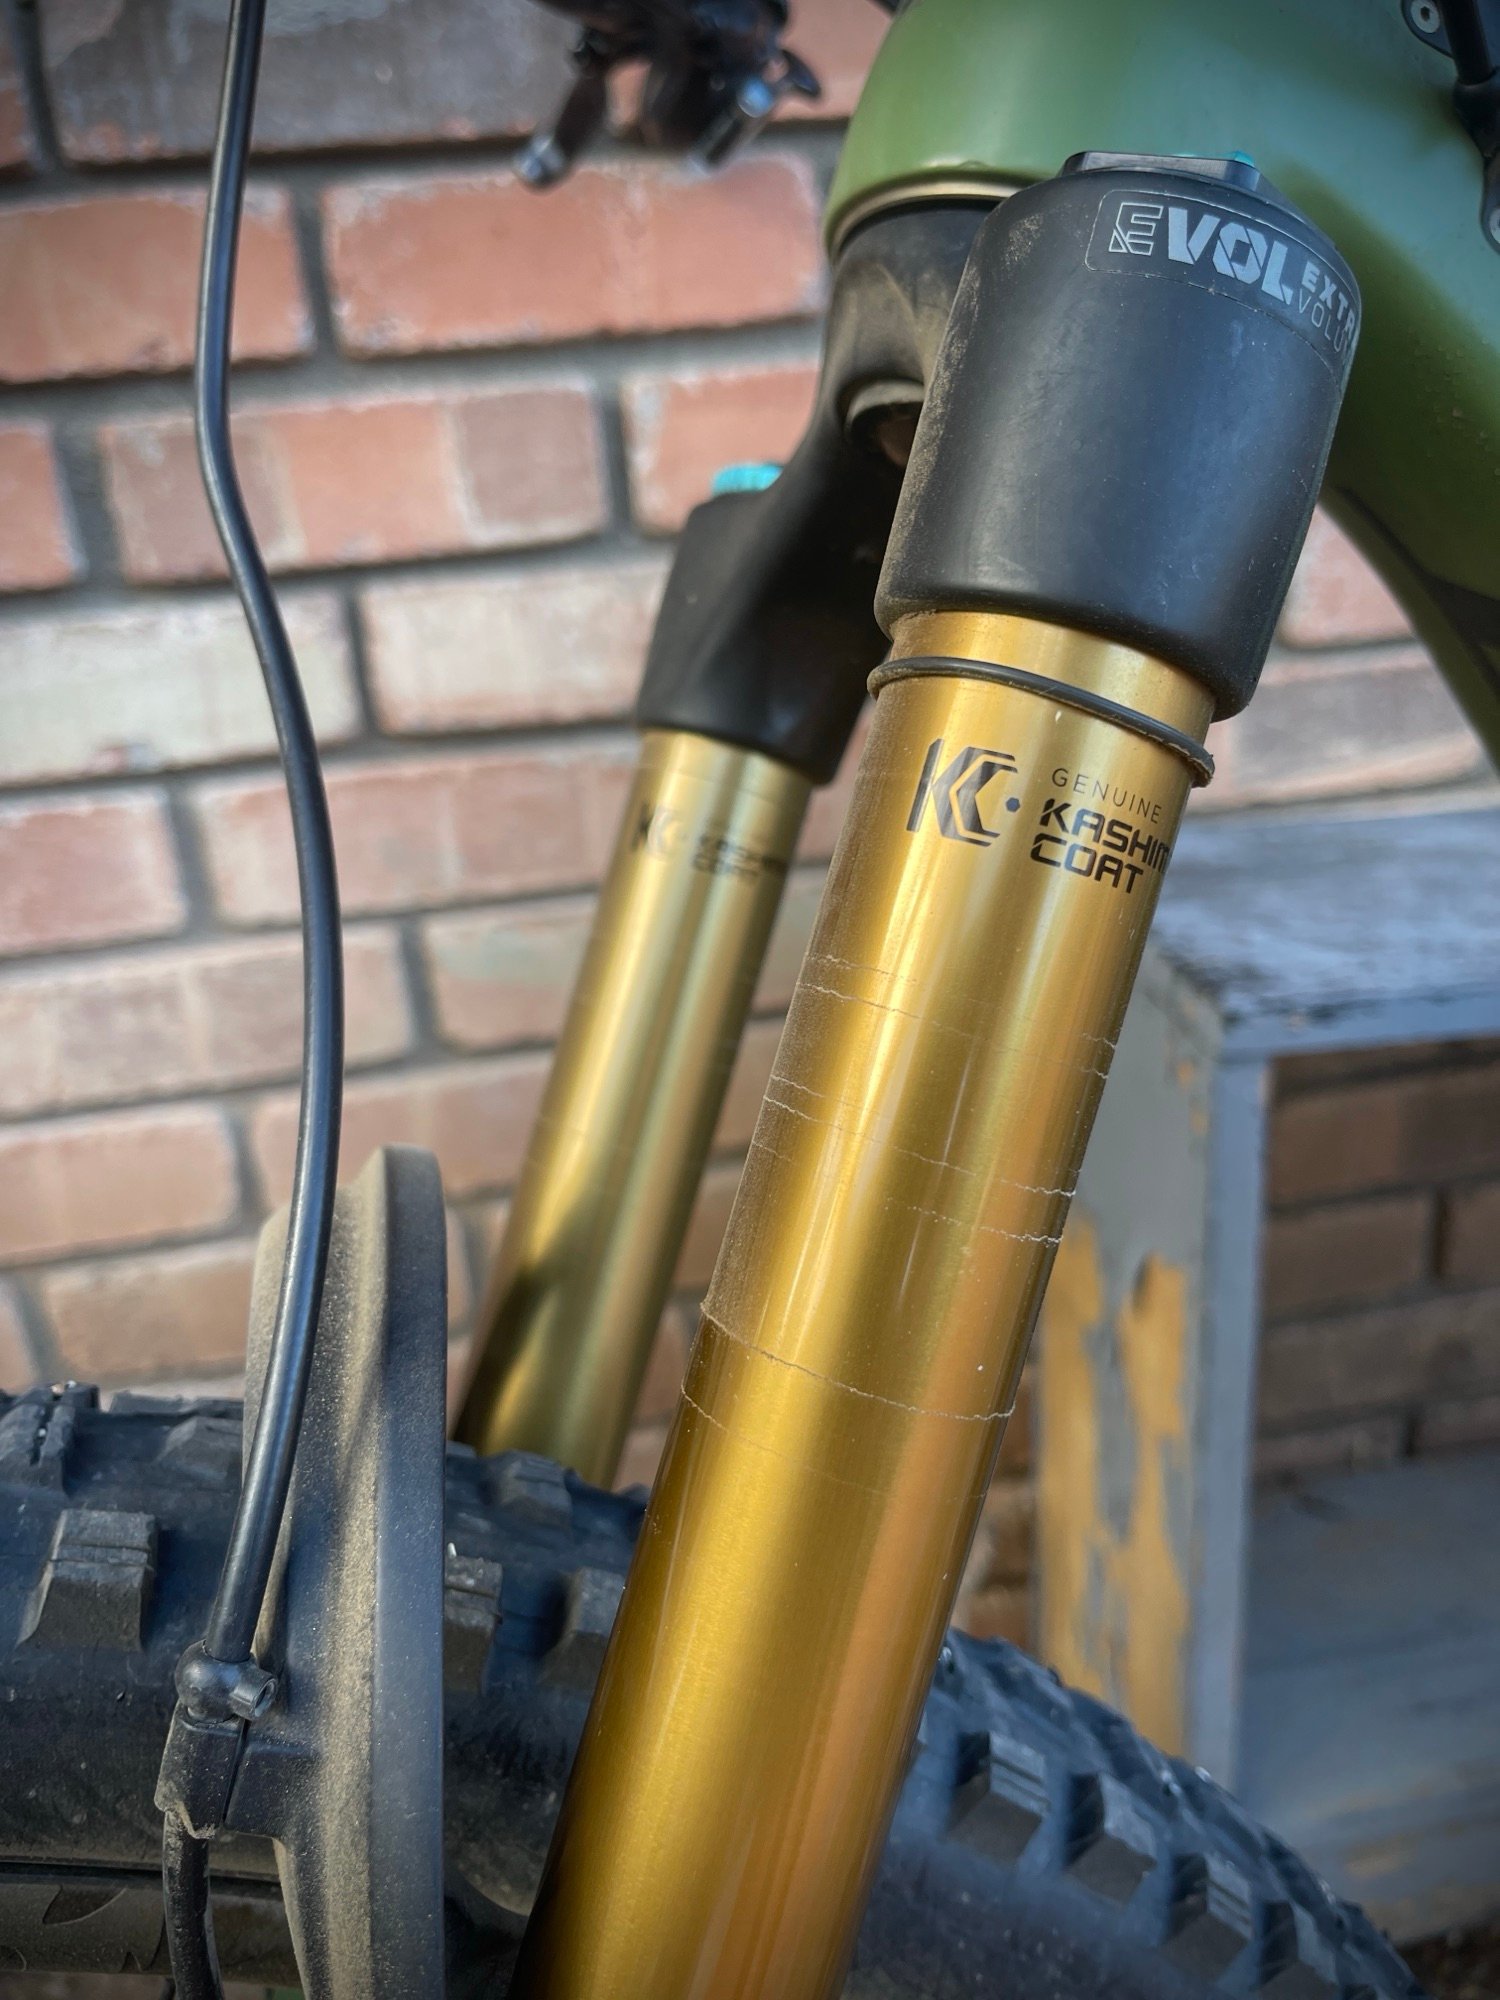
What Is “Lowers Service,” Anyway?
Quick version: you’re cleaning out the lower legs of your fork and swapping the oil and foam rings that keep things smooth and less horrifying inside. Think of it as a trail spa day. For your fork.
You’ll need:
- A good playlist and some rags you don’t care about
- Suspension oil (the kind your fork manufacturer recommends, not motor oil you found in the garage)
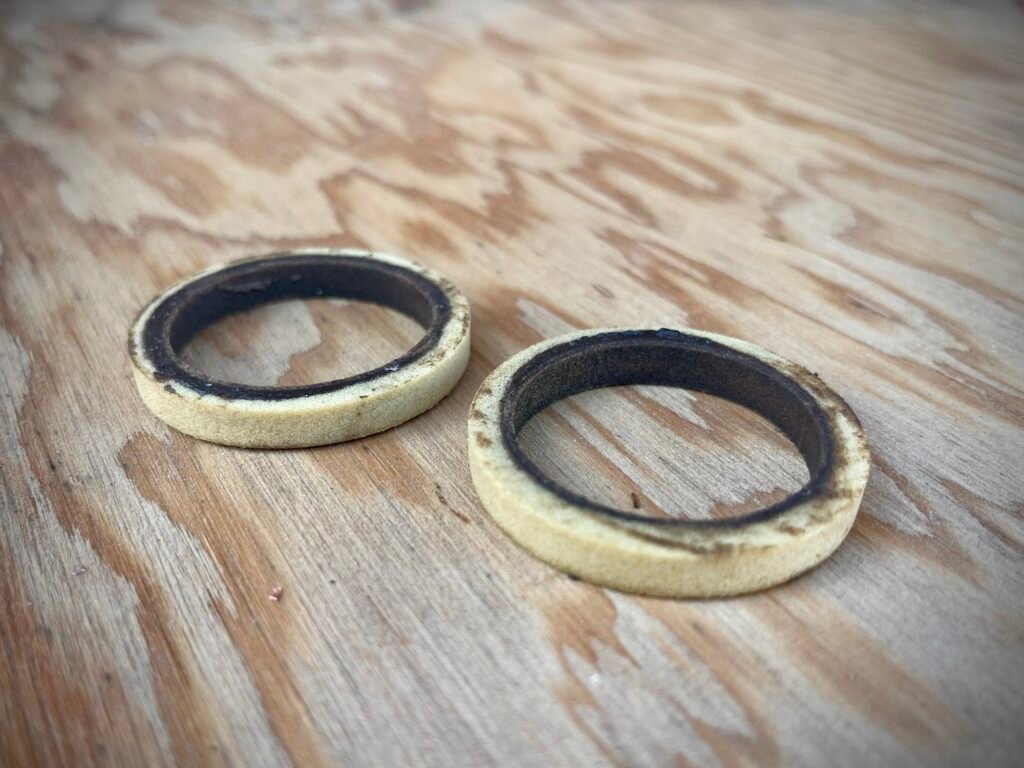
- New foam rings and dust wipers (unless you’re reusing, which is a spiritual choice, not a best practice)
- Slickoleum or other suspension grease
- Basic tools (Allen keys, plastic tire lever, patience)
Why Now? Because That Fork’s Not Gonna Fix Itself
Look, if you’re late to this party—don’t panic. We’ve seen crusty, creaky forks come hobbling in after years of hard miles and a complete lack of love… and leave feeling like they just got back from a spa weekend. This is one of those rare cases where better late than never actually holds up.
Should You DIY? Let’s Make It Simple.
Servicing your fork sounds fancy. Maybe a little intimidating. But trust us—if you can make pancakes and not burn your house down, you can do this.
Here’s the no-nonsense test:
Do you own a bike stand?
If yes = roll up your sleeves, you’re doing this.
If no = head to the shop and high-five the mechanic on the way in.
Either way—your fork will thank you, and probably stop making that weird noise mid-descent.
What’s the Damage (or the Savings)?
Dropping your fork off at a shop for a lower leg service? That’ll run you around $80 a pop.
Now, if you’re riding even semi-regularly—let’s say a couple hours a week—you’re due for a service twice a year.
Keep that fork rolling for five years and stay on top of your maintenance? You’re looking at $800+ just in basic fork upkeep.
That’s basically a new fork. Or a few plane tickets to somewhere with alpine singletrack and burritos the size of your thigh.
A Very Loosely Structured How-To
Button It Up & Bounce Test
Tighten the bolts. Put the wheel back on. Compress the fork a few times. Listen closely. It should sound like silence and possibility—not dying robots.
Take Off the Front Wheel
Because we’re not maniacs.
Remove the Lowers
Loosen the bolts at the bottom of each fork leg, then gently tap them with a mallet to release the internals. Slide the lowers off. Contemplate your life choices if fluid pours out in unusual colors.
Clean Everything
Wipe out the lowers. Clean the stanchions. Remove old foam rings. Pretend you’re the suspension whisperer.
Grease and Rebuild
Install new foam rings soaked in fresh oil. Add a bit of suspension-specific grease to the seals. Slide it all back together carefully. Replace the crush washers if you’re being virtuous.
Add the Oil
Inject the correct volume of oil into the bath (check your manufacturer’s specs). Not too much. Not too little. Just right.
Button It Up & Bounce Test
Tighten the bolts. Put the wheel back on. Compress the fork a few times. Listen closely. It should sound like silence and possibility—not dying robots.
Specific Supplies, Parts, and Tools

Here’s your basic shopping list for giving your fork a little love—Fox fork focused but generally applicable. Swap in what fits your setup, ignore what doesn’t, and if you wanna throw a few coins in the trail karma jar, we’ve dropped some affiliate links to our go-to goodies.
Supplies and Parts
- Suspension cleaner (universal)
- Suspension grease (universal)
- Dust sealer/wiper kit (includes o-ring and crush washers, link is for Fox 36, check brand and diameter size for your fork, most basic service doesn’t replace these parts but just pulls, cleans, and soaks the foam rings)
- Fork oil (link to Fox 20wt Gold, check to make sure different or additional weight oils aren’t needed for your fork)
Tools
- Rags (plenty)
- Valve core removal tool (to be sure all air is out)
- Allen keys (metric, buy this set as a well-deserved treat for doing this job)
- Metric sockets (15, 10) and rachet (linked is another treat for if you’ve been really good recently)
- Removal tools for lower legs (but sockets work fine too, see second video below)
- Pick (for removing dust wiper foam rings)
- Medium standard screwdriver (for removing dust wipers)
- Rubber mallet (for detaching legs and seating new dust wipers)
- Seal driver (for seating new dust wipers)
- Torque wrench (optional, without one be careful not to over-tighten lower leg nuts during reassembly)
- Syringe (~60 cc, for adding new oil)
- Shock pump
- A good old bucket or pan (to catch the old oil)
Resources
Here are the best YouTube videos to walk you through servicing your suspension lowers—because sometimes you need a visual, a voiceover, and someone else’s mistakes to really feel ready.
For an entertaining and quick overview of the most basic service, it’s gotta be Mahalo My Dude:
Then, for a (slightly) less glossy production check out Syd Fixes Bikes—she works her way through all the steps doing the things for the first time, including the terrifying act of popping out old dust wipers (at 9:03).
Finally, for an at home production showing a more comprehensive service of the lowers, including removing the air spring and cleaning the inners of the uppers, Trail Breaker goes whole hog:
Print Out These 16 Steps From Fox and Check ‘Em Off As You Go
16 Steps to completing a service of your suspension fork lowers (great to print out for following the general steps)
Here are some additional links from Fox to confirm what’s needed for your fork:
- Example bath oil volume chart (how to know how much oil to put in, this is for Fox 2017 forks)
- Link to owner’s manuals (Fox)
Happy (and Smooth) Trails!